Jacob Morrow
Updated: 2026-01-06
Chatbots have become a new norm in the business world. These automated bots are helping customers with instant support while letting businesses have more customer engagement and reduced support tickets.
- Chatbots increased sales by 67%.
- 49% of American adults have received customer service using an AI chatbot.
- 67% of customers prefer self-service over interacting with a support agent.
- The chatbot market is projected to grow by 24.32% CAGR, from $7.01 billion in 2024 to $20.81 billion by 2029.
All the above statistics show the necessity of integrating the chatbot into your business. Therefore, this guide is designed to teach you how to build a chatbot using Google Dialogflow – a reputed platform for creating chatbots. But first, let's clarify everything about Google Dialogflow.

Part 1: What is Google Dialogflow and How Does It Work?
Google Dialogflow is Google's online platform for creating conversational chatbots. It is a natural language understanding platform that uses Google AI to create virtual agents for websites, messaging platforms, mobile apps, etc. It offers a graphical interface with which you can easily create, train, and publish chatbots or voicebots.
To better understand Google Dialogflow, consider the example of Domino's. Domino's simplified its pizza ordering with the Dialogflow chatbot. The company witnessed remarkable results once Dialogflow's conversational technology started assisting customers with their orders.

Key Features of Google Dialogflow
The key features of Google Dialogflow are as follows:
- Visual Builder: It offers a visual builder that can help easily build a chatbot or voicebot.
- Pre-built Agents: It has over 40+ template agents to quickly build a chatbot for hotel booking, navigation, dining out, IoT, etc.
- Generative AI Agent: Its Knowledge Connectors allow you to train the agent with your company's data and ensure intuitive, rich customer conversations with Google's AI.
- Intent Recognition: It allows you to define intents, empowering the chatbot to recognize the purpose of user queries and provide accurate responses.
- Rich Responses: It lets you create dynamic responses with rich content, such as images, buttons, text, cards, etc.
- One-click Integration: It provides one-click integration to multiple platforms, including websites, mobile apps, Facebook, X, LINE, and more.
- No Infrastructure & Scalability: As a SaaS-based service, it runs on Google infrastructure and easily scales to meet your growing needs.
- Multilingual: It supports multiple languages to make a perfect chatbot for your global customers.
- Analytics Dashboard: It provides valuable insights on customer engagements and agent performance.
In short, Google Dialogflow offers an all-in-one platform to create full-fledged chatbots and deliver more natural customer experiences.
How Does Google Dialogflow Work?
To make the Google Dialogflow chatbot work, you have to define intent samples and train the bot. The intent samples are what users want to ask related to your services. Once trained, the Dialogflow chatbot uses ML to create multiple relevant phrases. Now, when the customer asks a question, the AI matches the intent with the most relevant response phrase and delivers the response.
The complete workflow of how the Google Dialogflow chatbot works is as follows:
- A customer sends a message to the chatbot integrated into the website or any other platform.
- The chatbot sends the message to Dialogflow.
- Dialogflow matches the message to the most relevant intent, while each intent's necessary actions are defined in fulfillment (Webhook).
- After finding the right intent, the webhook uses external APIs to find the exact response in external databases.
- Webhook receives the response from external databases, which it formats and sends to the intent.
- Intent creates actionable data depending on different channels.
- The data gets delivered through the chatbot, and users get the response.
That's how a typical Google Dialogflow chatbot can respond to a customer message.

Part 2: How to Build a Dialogflow Chatbot [Step by Step Guide]
Now that we have cleared the basics of Google Dialogflow, let's shift our focus to the main part of this Dialogflow tutorial, i.e., how to build a Dialogflow chatbot.
As mentioned earlier, Google Dialogflow offers a visual interface, so it requires a few simple steps to build a chatbot from scratch. Before that, let's clarify a few key terminologies you will see in Google Dialogflow:
- Agent: Agent is basically the chatbot you are building in Dialogflow.
- Intents: Intents help the agent understand what customer text means. For example, the intent can identify "Hello" as "Greeting".
- Entities: Entities help to extract actionable data from customer's input.
- Fulfillment: Fulfillment enables the agent to extract and verify data sent from a third-party database or API related to the customer intent.
- Response: Response refers to the reply Dialogflow will send to the customer.

Here are the six Dialogflow tutorial steps you have to follow to create your first chatbot:
Step 1. Set Up DialogFlow Account
Go to the DialogFlow webpage and click "Go to console" from the top right corner. Then, sign in with your Google account.

Step 2. Create an Agent
Click "Create Agent" from the left sidebar.

Assign the bot a name, set the time zone, and click "Create".

Step 3. Define Intents and Entities
Dialogflow will quickly take you to the intents window.

Here, you will see two predefined intents, i.e.:
- Default Fallback Intent: This intent will help respond to users when the agent is unable to find any intent that matches the user query. It may send a message like “Can you please explain again”.
- Default Welcome Intent: This intent will help to respond to almost any type of greeting and send the right welcome response accordingly.
Now, you have to define your custom intents. For that, click the "Create Intent" button.
Give your intent the name. Afterward, head to "Training phrases" and click "Add Training Phrases".

Here, you have specific examples of how users will present their intent in natural language. For example, we have below listed a few examples of how users may ask to order a pizza.

Next, you have to define entities so that Dialogflow can extract key information from the user text, such as pizza type, pizza size, delivery address, phone number, name, etc. For that, the easy approach is to highlight the word from your training phrases and specify the relevant entity. For example, you can highlight the address and then select "@sys.address".

Similarly, you can specify all the important entities. You can also create new entities if the system entity does not match what you want.

All the entities will be seen in the "Action and parameters" section.

To place the pizza order completely, you want the user to give some essential details, like name, address, pizza type, pizza size, and phone number. So, tick those entities in the "Action and parameters" section. Afterward, enter the "prompts" against each entity, which will be the message the chatbot will send to the user if he does not provide that information.
For example, suppose a user sends a message, “I am John. I want to order 2 medium veggie pizzas delivered at 123 Street”. The chatbot will detect that the phone number is missing and ask the user to send the phone number using your specified prompt. This way, the DialogFlow chatbot keeps back-and-forth conversations to ensure that you get all the information to place the pizza order.

Step 4. Define Responses
Once entities are all defined, scroll down to the "Responses" section and start writing the text responses you want to send to the users once you have all the required entities from the user. You have to use the entity values to intelligently give users responses based on their message. The below image shows a few responses we created for a pizza order.

Step 5. Save and Test Chatbot
Click the "Save" button. Afterward, use the text prompt on the right side to test the chatbot outputs.
In the image below, you can see that we sent the chatbot a complete message, and it was able to provide the exact response by extracting relevant entities from the user message.

In the second example, we didn't give the phone number. So, the chatbot is now asking us to deliver the phone number before the order is placed.

Step 6. Integrate the Chatbot
Once you have tested the chatbot, the last step is to integrate the chatbot. For that, click "Integrations" from the left sidebar. Choose the platform of your choice and follow the on-screen instructions to integrate the chatbot.

That's it! This is how you can create a Google Dialogflow chatbot by smartly writing intents, entities, and responses.
Part 3. A Better Way to Build Chatbot for Beginners [No-code]
While Dialogflow offers robust tools for chatbot development, it still requires significant time and effort to smartly leverage intents, entities, and responses to create a complete chatbot. In contrast, using a more intuitive visual bot builder like GPTBots can simplify the process and provide additional benefits.
GPTBots is a modernized and powerful AI chatbot builder. It offers many pre-designed templates and the easiest way to build, train, and integrate chatbots.
Here is how to build a chatbot with GPTBots in 3 simple steps:
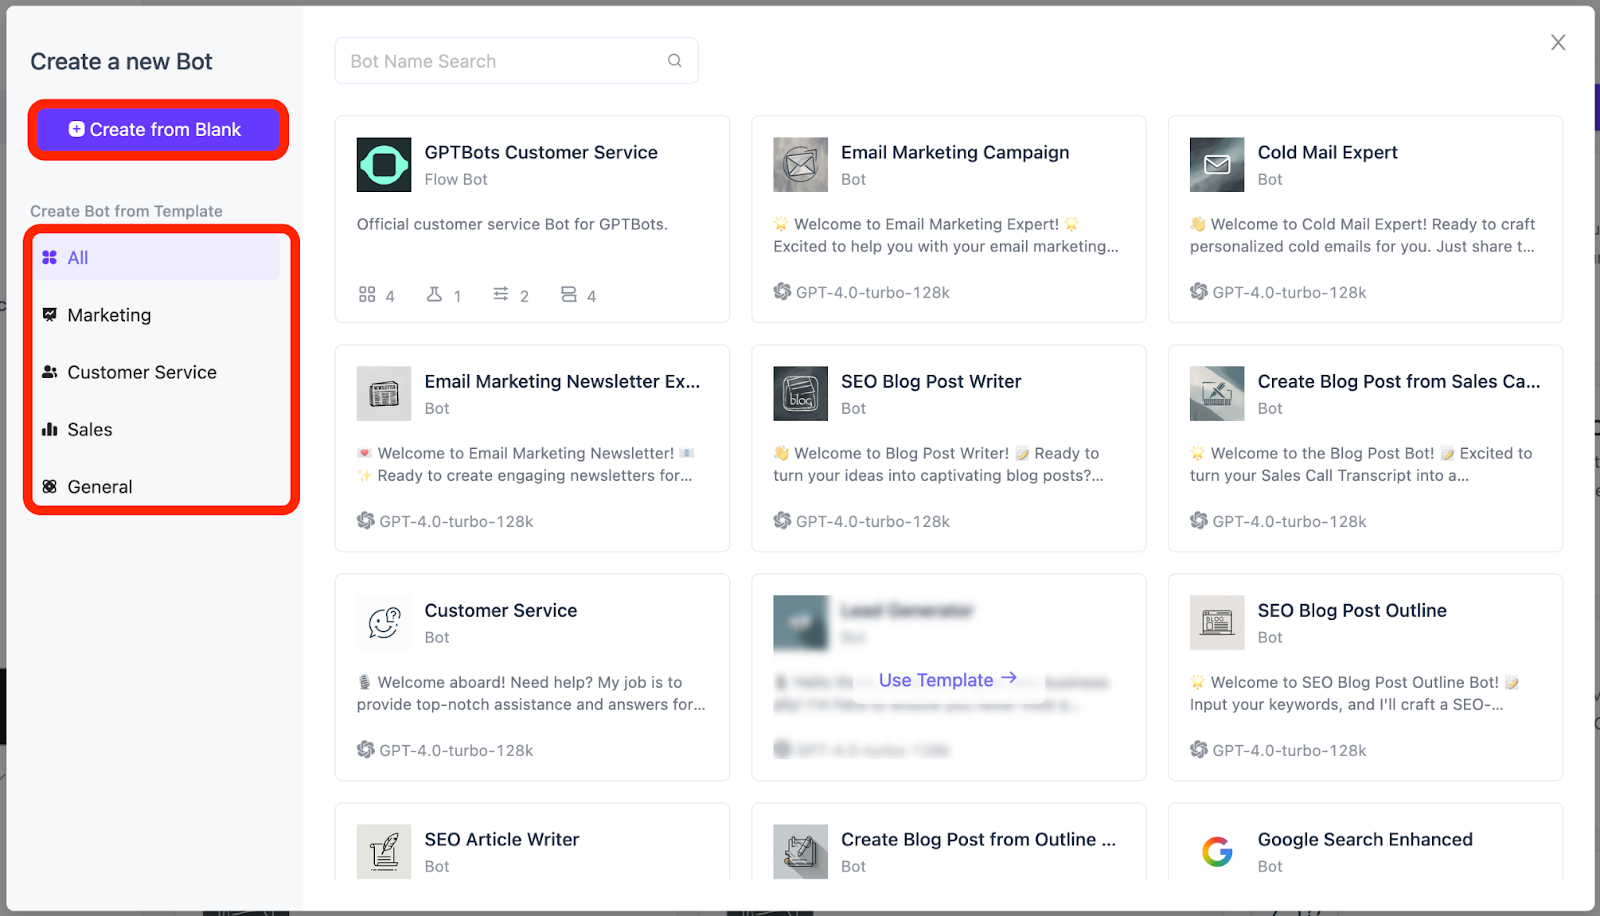
Step 1. Go to GPTBots' website and sign up. From the main interface, click "New bot" and choose either to build a bot from scratch or to use a template.
Step 2. In the "Knowledge" section, simply upload all your company data either through websites, files, spreadsheets, Google Drive, etc.

GPTBots will intelligently extract relevant questions, which you can test, review, and customize.
Step 3. Once the chatbot is trained, simply integrate it into the platform of your choice, such as WhatsApp, Discord, Slack, website, etc.

That's how simple and quick it is to create a full-fledged chatbot with GPTBots. So, tell me yourself? Is the Google Dialogflow complex intent, entities, and response method easy or the simple click-based approach of GPTBots. Definitely, it's GPTBots.
The key features of GPTBots include:
- Ease of Use: The drag-and-drop interface makes it accessible even for non-developers.
- Pre-designed Templates: Fast chatbot creation with plenty of pre-designed templates.
- Ultra-Fast Bot Training: Simple drag-and-drop-based chatbot training with your company's knowledge base.
- Comprehensive Integration: Easily integrate with various platforms and services without extensive coding.
In short, if you want to experience a hassle-free way to create a chatbot, then GPTBots is the ideal platform for you. Head to the GPTBots website and create your first chatbot for free.
Learn more GPTBots and make it easier for your users to start conversations today.
- 12 Effective Ways to Use ChatGPT For Business [2024]
- [2024 Guide] How to Make a Discord Bot Without Coding
- How to Create a WhatsApp Bot in 5 Minutes! (Just 3 Steps)
- How to Build a FAQ Chatbot Without Coding in 5 Minutes!
- What Are HR ChatBots? [Ultimate Guide]
- What Are Slack Bots & How to Create a Slack Bot
Conclusion
With the dominating trend of chatbots, Google Dialogflow offers an online platform to create a chatbot for your business. The above steps explain how you can smartly use intents, entities, and responses to train and make the chatbot respond accurately. However, GPTBots even dominate as a more user-friendly and fast way to create a chatbot. So, now the final choice is yours. Evaluate your needs, pick the right chatbot builder, and begin building your chatbot.