How to Use Workflow?
To get started with Workflow, follow these essential steps:
Step 1: Create a workflow
Access the Workflow tab and click Create Workflow.

For an Agent/Flow-Agent to invoke this workflow effectively, provide a comprehensive and unambiguous description to ensure the LLM can interpret and trigger the workflow at the appropriate time.
Click OK when you finish the description. You will then be automatically directed to the canvas for editing the workflow.
Step 2: Edit the workflow
Add nodes
You can add nodes for action triggering through the following 2 methods:
- Method 1: Click Add Node at the bottom of the canvas and select desired components. Components serve as nodes within a workflow once connected with each other.

Note: Each component can serve as a node once connected in the workflow. All components display green connection ports: input ports on the left and output ports on the right (the Start component only has an output port, and the End component only has an input port). Linking these ports between components defines their execution sequence and data flow within the workflow.
- Method 2: To add nodes downstream of an existing component, click its output port (right side) and select a target component. You can repeat this action to append multiple nodes. When using this method, connection links between the existing component and the newly added ones will be automatically created.

Link nodes
By linking components, you establish both their execution sequence and data flow dependencies.

When using Method 1 to add nodes, follow these steps to organize connections:
- Determine which component serves as the upstream node, and which serves as the downstream node.
- Click-and-hold the output port (right side) of the upstream component and drag the connection line to input port (left side) of the downstream component. Then, release the mouse button to complete the connection.
If you want to remove a link, click on the connection line and press the Backspace key on your keyboard.
Configure nodes
To configure nodes (components) within the workflow:
- Open the configuration panel by clicking on a target component.
- Fill in all required fields in the panel. Changes are auto-saved in real-time.
- Click anywhere outside the panel within the canvas to exit the panel.
- Repeat the above steps to finish configuring all nodes (components) within the workflow.

Delete nodes
To delete a node:
- Click the target node (component) and press the Backspace key on your keyboard; or
- Click the menu button ⋮ on the upper right corner of the target node (component) and select Delete.

Note: Once a node is deleted, all links involving this node will be removed.
Editing modes
The Workflow canvas supports Mouse Mode (ideal for desktop use) and Touch Mode (ideal for tablets/touchscreens). You can switch between these modes by clicking on the corresponding icons at the bottom of the canvas.

Step 3: Debug nodes
Node debugging refers to the process of testing the functioning of a single node, without involving its upstream and downstream nodes. Through this step, you can confirm whether the node executes and outputs as expected.
To debug a node:
- Click the node debugging button (▶) at the upper right of the node to open the Node Debugging panel. (The value of input in this panel should match the specified input parameters of this node.)
- Enter the variation value into the input bar and click Run.

- Switch to the Output tab in the panel to view the debugging result.

Step 4: Trial Run
A trial run involves a comprehensive test of the entire workflow to ensure its execution and output align with the developer's expectations. Successfully passing the trial run is a prerequisite for releasing the workflow; those that do not pass cannot be published.
To perform a trial run of the workflow:
- Click the Trial Run button in the upper right of the workflow's Config window. (The value of input in this panel should match the specified input parameters of the Start node.)
- Enter the variation value into the input bar and click Run.

- Switch to the Output tab in the panel to view the trial results.

Step 5: Save the workflow
Changes to the workflow or node configurations are auto-saved as you edit.You can also manually save the current configuration as a named version for record-keeping at any time.
To do this:
- Click the Save button in the upper-right corner of the Config window.
- In the pop-up Version Save dialog, provide a required description and click OK.

Manually saving a workflow version allows you to view all historical versions and restore a previous state if needed.
To restore a saved version:
- Click the Publish button in the upper-right corner of the Config window to open the Publish Management window.
- Within this window, locate the desired version in the Version History section, and select Restore.

Step 6: Publish the workflow
After the workflow pass trial run, you can select the corresponding version to publish. Only a published workflow can be accessed and used by users.
To publish a workflow that passes the trial run:
Click Publish in the upper-right corner of the Config window.
In the pop-up Publish Management window:
- Click Save Version to save the current configuration as a named version, and then find this version in Version History section to publish; or,
- Find the target saved version in Version History and select Publish.

Step 7: Apply the workflow as an API or integrate it into Agents
A workflow can be used either as an API or as an Agent/Flow-Agent tool.
Application 1: API Integration
In the Config window, access Integrations and switch on the toggle button to enable API integration.

Click Manage to access the window for API key management. In the window, click Create API Key and name the key.

Next, click the Copy icon next to the newly created API key and paste the key into the Request to be sent.
Request
          curl --location --request POST 'https://api.gptbots.ai/v1/workflow/invoke' \
--header 'Authorization: <your_api_key>' \
--header 'Content-Type: application/json' \
--data-raw '{
    "userId": "<your_user_id>",
    "input": {
        <your_start>
    }
}'
In this Request, replace <your_api_key> with the API key you just copied. And replace your_start with the input parameters specified in the Start node of the workflow.
| Field | Type | Required | Description |
|---|---|---|---|
| userId | string | No | Serves as an identifier of the initiator of this request. |
| input | object | Yes | Represents the Start node of the workflow. The parameters in this field must match the parameters specified in the Start node of the workflow. |
Response
          {
    "workflowRunId": "xxxx-5b15-4cbf-999c-1b218934xxxx",
    "input": {
        "input": "What should I do after a breakup?"
    },
    "output": {
        "output": "Breakups are a normal part of life. While it can be painful, it can also serve as an opportunity for growth and self-reflection. Here are some suggestions that might help you: \n\n..."
    },
    "workflowExecutionTime": 24277,
    "status": "SUCCEED",
    "totalCost": 1.3754,
    "totalTokens": 3464,
    "startTime": 1741768313025,
    "endTime": 1741768337310
}
| Field | Type | Description |
|---|---|---|
| workflowRunId | string | Operation ID of the workflow, serving as the unique identifier for this execution. |
| input | object | Input content of the Start node. This must match the content of the "input field" in the Request. |
| output | object | Output content of the End node. This will also show the workflow's execution result. |
| workflowExecutionTime | number | Time taken for executing the workflow (Unit: ms). |
| status | string | The integration status of the workflow. Possible values inlude: * SUCCED:Successful integration * FAILED:Failed integration * RUNNING:Running workflow |
| totalCost | number | Total credits consumed (consumption of all nodes); unit: credit. |
| totalTokens | number | Total Token consumed (consumption of all nodes) |
| startTime | number | Timestamp of action start (unit: ms) |
| endTime | number | Timestamp of action end (unit: ms) |
Application 2: Apply to Agents
Select a target Agent/Flow-Agent where you want to apply the workflow:
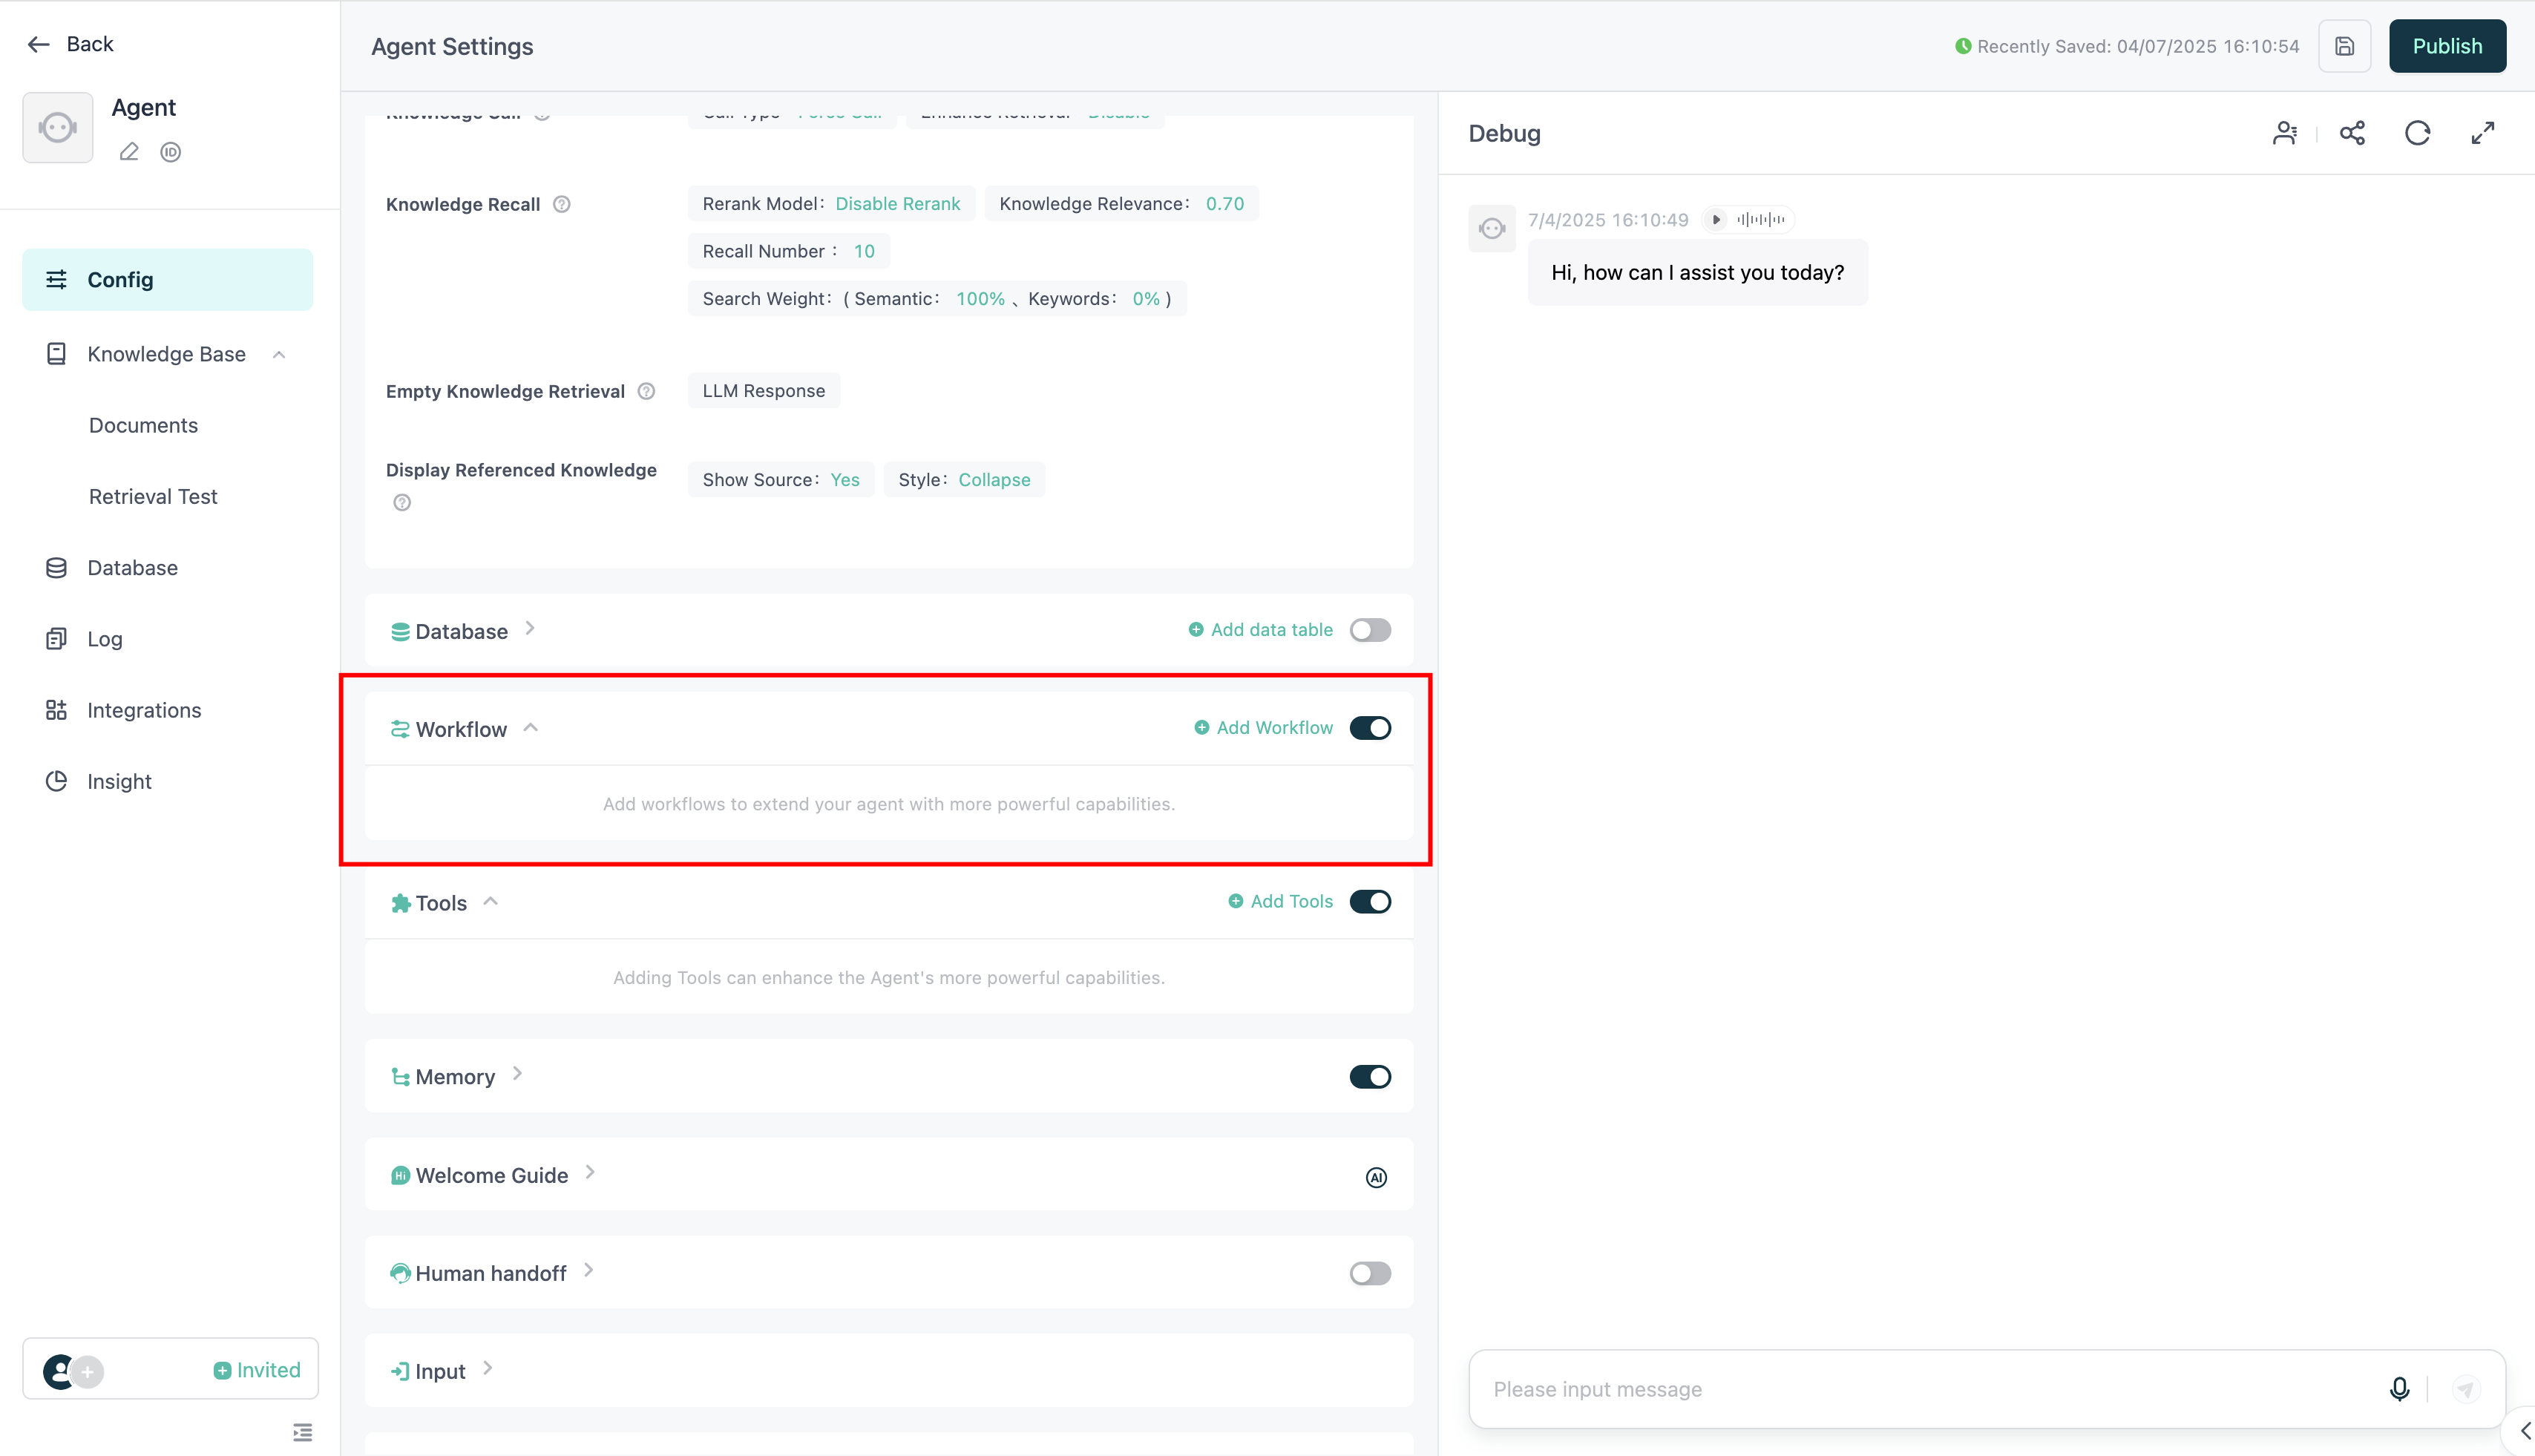
- For an Agent: Access the Config window and find the Workflow section for configuration.
- For a Flow-Agent: Access the Config window and click Edit to enter the configuration canvas. Select any AI Model component (LLMs) within the Flow-Agent, and configure the workflow using the same method as for an Agent.
Here's a simple way to add a workflow to your Agent/Flow-Agent:
- Unfold the Workflow section.
- Click Add Workflow.
- In the pop-up Add Workflow window, select the target workflow and click Add.

In order to maximize the workflow effectiveness, it is suggested to add its detailed trigger conditions in the LLM's Identity Prompt to specify when the workflow should be activated.

With clearly-defined trigger conditions, the agent's LLM will automatically execute the workflow and generate contents accordingly when user input meets the specified conditions.
